How to Build a Picket Fence
Building a picket fence yourself can be a rewarding DIY project, but it requires careful planning and thorough research.
Failing to prepare can lead to costly mistakes, poor workmanship, legal compliance issues, and potential disputes.
In this guide, we’ll walk you through how to build a picket fence step-by-step and also discuss the essential planning and preparation requirements.
How to Make a Picket Fence – Planning & Preparation
If you’re considering installing a picket fence yourself, it’s important to understand all it entails – from legal, safety and material requirements, to learning the construction process itself – before you get started.
There are 5 key steps to the planning phase:
1. Understand Local Regulations
Firstly, it’s important to check and ensure you fully understand and adhere to the local fencing regulations. These rules can vary depending on your location, zoning, and the type or height of the fence.
Failing to comply could result in delays, forced modifications, fines, removal notices, or disputes with neighbours – all of which can prove costly.
In Western Australia, fence height and placement are typically guided by the Residential Design Codes (R-Codes), which establish minimum standards for fencing on residential blocks throughout the state. In many WA local councils, front fences above 1.2 metres within the front setback (the distance between the front boundary of your property and the front wall of your house – i.e. the front yard) may require planning approval.
Equally important is confirming the exact boundary lines of your property. Building a fence on your neighbour’s land, even by a few centimetres, can lead to disputes or legal action under the Dividing Fences Act 1961.
If the boundary is unclear, it’s best to obtain a licensed surveyor’s report before starting any work. Also, if the fence will be a shared boundary (dividing fence), you are legally required to notify your neighbour and may need to share costs.
If your picket fence is for a pool or spa area, it’s important to note that there are specific legal requirements designed to protect safety. Be sure to check your local pool fencing regulations to ensure your fence (and gate) is compliant.

2. Learn the Build Process & Safety Requirements
There are several components to this step and multiple boxes you need to tick:
Training in Fence Construction:
- If you’re new to fencing, take time to learn the basics.
- Watch reputable DIY videos or online courses.
- Attend workshops at your local hardware store (many Bunnings stores in WA offer free weekend demos).
- Read manufacturer instructions for fencing kits, tools, and fixings.
- For complex fences or sloped sites, consider consulting a professional before starting.
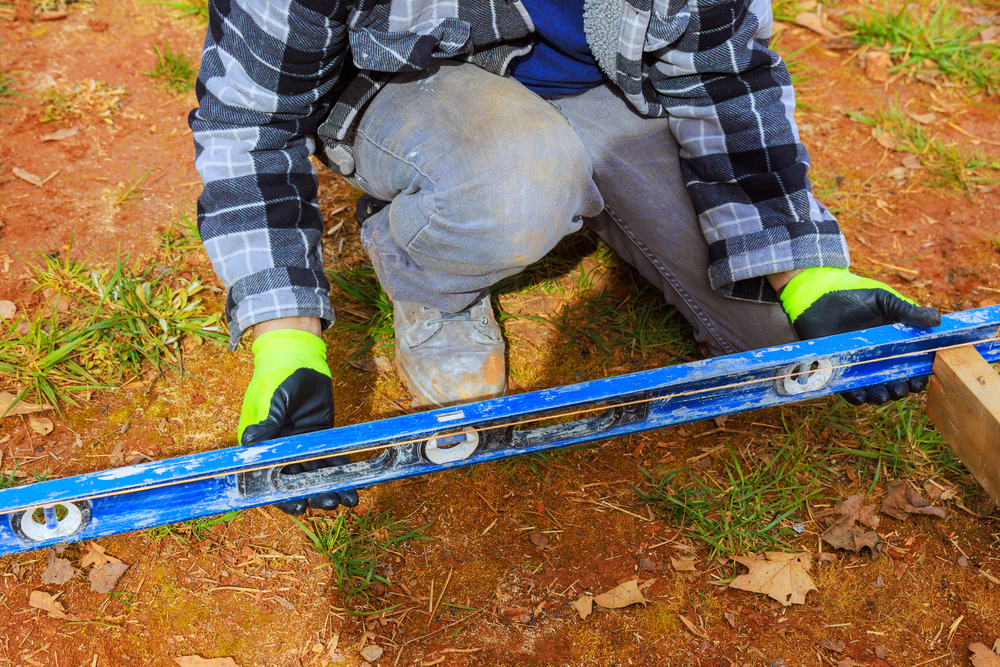
Ensure You Have the Right Personal Protective Equipment (PPE):
- Safety glasses – for cutting, drilling, or using power tools.
- Work gloves – to prevent cuts and splinters.
- Steel-capped boots – for handling heavy materials.
- Hearing protection – when using loud tools like saws or post-hole diggers.
- Hi-vis clothing – if working near traffic or shared accessways.
Understand Safe Tool Use & Lifting:
- Learn how to operate power tools safely and always follow instructions.
- Lift with your legs, not your back — and ask for help when handling heavy panels or posts.
- Use trolleys or wheelbarrows when moving heavy materials.
Check Before You Dig:
- It is strongly recommended to lodge a free enquiry with Before You Dig Australia to identify underground services such as gas, water and electricity.
Know How to Keep the Work Area Safe:
- Keep the site clear of trip hazards and debris.
- Store tools and materials neatly when not in use.
- Avoid working in extreme heat, rain, or wind.
3. Design Your Fence
Design your fence in line with the local regulations and your personal preferences. Try to opt for a design that will complement the style of your property.
Measure the length of the area you want to fence carefully, including any gates or changes in terrain. Take into account the style you want – for example, heritage or modern Hamptons-style – and how tall and wide your pickets should be.
Be sure to measure accurately, so you can calculate and order the correct number of fence posts, pickets and other materials.
4. Select Your Materials
The first step here is to decide which material you want to use for your fence.
While traditionally made from timber, many customers are opting away from natural wood, due to its’ ongoing (and sometimes expensive) maintenance requirements to protect against rot, termites, and weather damage – especially in Perth’s harsh climate.
Aluminium is resistant to corrosion and pests and does not warp or rot. When powder-coated, it also resists fading, peeling and chipping – unlike normal paint. Their strength, long-lasting finish, and minimal maintenance requirements make aluminium picket fences a highly popular choice
If you want the aesthetic of natural timber, but without the upkeep, perhaps consider a wood-look aluminium fence.
Other materials such as steel, composite, or PVC also offer varying levels of durability and aesthetics depending on your budget and style preference. Factor in your local environment, maintenance commitment, and budget when selecting your fence supplies.
Materials you’ll need for the build include:
Posts:
- Metal, wood or vinyl posts.
- Used as vertical supports (corner, line, and gate posts).
Rails:
- Horizontal pieces connecting the posts.
- Typically 2 or 3 rails per section.
Fence Panels or Pickets:
- Wood pickets, metal panels, vinyl panels, or chain-link mesh.
- These form the actual barrier of the fence.
Concrete:
- Pre-mixed concrete bags are most common.
- Used to set the posts in the ground.
Gravel:
- Placed at the bottom of the post hole for drainage before adding concrete.
Fasteners:
- Nails or screws (galvanized or stainless steel for outdoor use).
- Brackets (for attaching rails to posts).
- Tension bands and wire ties (for chain-link fences).
Gates and Gate Hardware:
- Gate(s) and gate supplies to allow access.
- Hinges, latches, handles, and possibly a lock.
Optional or Specialised Items (depending on the type of fence):
- Post caps (to protect tops of posts and for appearance)
- Stain or paint (for wood fences)
- Weatherproof sealant (for wood fences)
5. Gather Your Tools
You’ll typically need the following tools:
- Post hole digger or auger
- Spirit level
- Tape measure
- Hammer or drill
- Saw (for wood fences)
- String line and stakes (for alignment)
- Wheelbarrow (for mixing and transporting concrete)
- Shovel (for digging soil, widening holes and mixing and transporting concrete)
- Trowel (for smoothing the surface of the concrete around the post base)
How to Build a Picket Fence – A Step-By-Step Guide
How Do You Build a Picket Fence? The process of building a picket fence can be broken down into four key phases: setting the posts, installing rails, attaching pickets, and finishing touches. Let’s explore these steps in more detail.
1. Measure the Area
Before you begin, measure the area where you want to install your picket fence.
Mark the positions for the posts, ensuring they’re evenly spaced. The width between posts depends on the length of the pickets you’re using and the design of the fence, but we’ll cover that in the next section.
2. Set the Posts
Dig holes for the fence posts, ensuring they are deep enough to support the height and weight of the fence.
The industry standard in Australia is typically 1/3 of the total post length, or a minimum of 450 – 600mm for a standard fence.
Certain fence installation guides may state that 30cm is an adequate depth, however this is typically for a very short, lightweight decorative fence. In most cases, you’ll need to dig deeper.
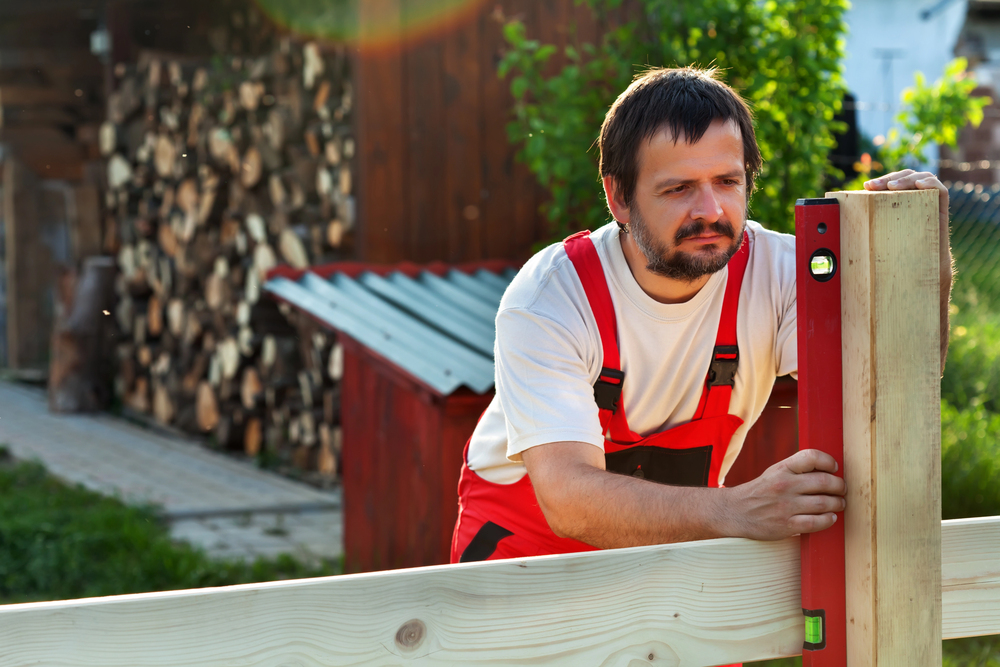
To ensure your fence is level, use a spirit level to check the vertical alignment of each post before securing it with concrete. Let the concrete set and cure before moving on to the next step.
3. Install the Rails
Once your posts are securely in place, it’s time to install the horizontal rails that will support the pickets.
These should be fixed to the posts using screws or nails, ensuring they’re level and properly spaced. You’ll typically use two or three horizontal rails depending on the height of the fence.
4. Attach the Pickets
It’s now time to attach the pickets. Whether you’re using timber or aluminium pickets, the process is largely the same. You’ll fix each picket to the horizontal rails with screws or nails, ensuring they’re evenly spaced and aligned.
If you’re using timber, apply a protective coating to shield it from weather, moisture and UV damage. (For aluminium or steel pickets, there’s no need for such treatment).
How Far Apart Should the Picket Fence Posts Be?
Post spacing is typically between 1.8m and 2.4m, depending on the fence system and rail design.
Remember, accurate measurements and consistent spacing are key to a neat, professional-looking fence.
How to Make Fence Pickets
Pickets are the defining feature of a picket fence, so getting them right is crucial.
If you’re using timber, you’ll need to cut the pickets to the desired height. Most pickets are around 90-120cm in height, but some front fences – especially in heritage or Hamptons styles – can be taller.
You can adjust this to suit your needs, however the fence height must comply with local R-Code limits.
For a classic look, many pickets are finished with a triangular top. To achieve this, mark the centre of the top edge, then use a square or straight edge to draw angled lines to each corner. Use a circular saw or handsaw to carefully cut along the lines, and sand the edges for a smooth, clean finish.
For aluminium pickets, manufacturers often offer pre-cut options, meaning you don’t have to worry about sizing them yourself. This makes aluminium pickets a more convenient, time-saving option.
You’ll also need to decide how wide each picket should be. Typical widths are between 5cm and 10cm, although this can vary based on your desired style and the spacing between your fence posts.
How Many Fence Pickets Do I Need?
To determine how many fence pickets you need, calculate the total length of the fence, then divide that by the width of your pickets (including any gaps you want between them).
For example, if your fence is 10 metres long and each picket is 10cm wide with a 2.5cm gap, you’ll need approximately 100 pickets for that section of the fence.
Always add a few extra pickets to account for any mistakes or future repairs.
How Many Screws Do I Need Per Fence Picket?
Each picket typically requires two screws per rail (for example, four screws if the fence has two rails, or six screws if three rails are used) – to ensure a secure fix.
If you’re building a large fence, consider purchasing screws in bulk to save costs. A typical fence might require anywhere from 200 to 600 screws, depending on its size.
How to Attach Pickets to the Fence
Attaching the pickets to the fence is the final step in the process. Use a screw gun or drill with a screwdriver bit to secure each picket to the horizontal rails.
For a clean and professional finish, align the pickets so that they are evenly spaced. You can either space them equally or leave a small gap between each one to create a more open, airy look.
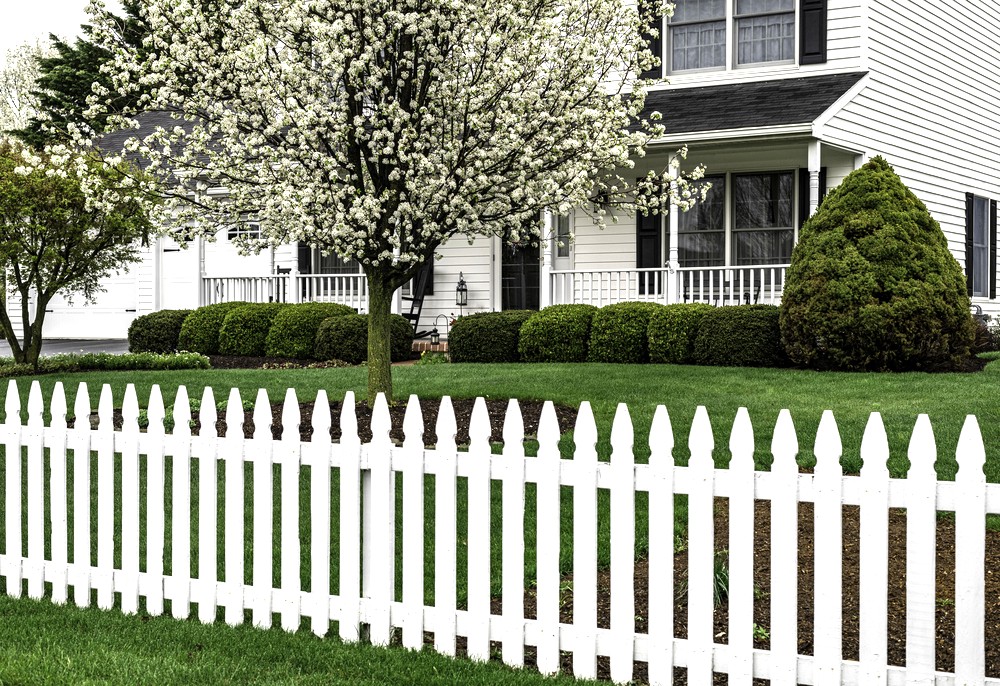
How Much Does a White Picket Fence Cost?
The cost of a professional white picket fence installation depends on the materials used, the size of the fence, and your location.
In Australia, the average cost of installing a white picket fence ranges from $160 to $460 per metre, including materials and labour.
Costs in Perth can vary depending on site access, soil conditions, slope and whether gate installation is also required.
In most cases, treated pine is the cheapest option, while hardwood is usually the most expensive, with aluminium typically sitting somewhere in the middle – although costs can vary.
Please find a detailed breakdown in the next section below:
How Much Does it Cost to Install a Picket Fence?
If you prefer to hire professionals, installation costs will vary based on the size and complexity of the project, your choice of materials and your location.
The price usually includes the cost of materials, labour, insurance and any other necessary services such as land preparation and liaising with local councils to secure approvals or permits if required.
Wooden Picket Fences
Materials Only:
- Average cost for treated pine (a common material for wooden picket fences) is around $100 to $200 per metre.
- Higher-end materials like cedar or hardwood can push the cost to $200 to $360 per metre.
Installation Costs:
- If you’re hiring a professional, installation costs can range from $60 to $120 per metre, depending on the complexity of the job and the region.
Total Average Cost (Materials + Installation):
- For treated pine, expect to pay around $160 to $320 per metre.
- For hardwood, expect to pay between $260 to $460 per metre (materials and installation combined).
Aluminium Picket Fences
Materials Only:
- Aluminium fences generally range from $150 to $300 per metre for standard aluminium pickets.
Installation Costs:
- Professional installation of an aluminium fence typically costs $80 to $150 per metre.
Total Average Cost (Materials + Installation):
- Expect to pay between $230 and $450 per metre, depending on the style and finish.
How Much Does it Cost to Build a Picket Fence DIY?
If you’re planning to build a picket fence yourself, the overall cost can, of course, vary widely based on the materials, the length of the fence, and the tools you may need to buy.
On average, materials for a wood picket fence will cost between $100 and $200 per metre for treated pine (a common material for wooden picket fences) and between $200 and $360 for hardwood, such as jarrah, merbau, spotted gum or cedar.
Aluminium fences range from $150 to $300 per metre for standard aluminium pickets, while custom designs or powder-coated finishes can increase this cost.
While powder-coated aluminium can incur a higher up-front cost, it can prove a more cost-effective option in the long run, thanks to its durability and low maintenance requirements.
Ready to Build Your Picket Fence?
Ready to start building your picket fence? Contact Fencemakers today for expert advice and premium fencing supplies that will stand the test of time.